
Desert Art Gifts by Julie
Featured products
-
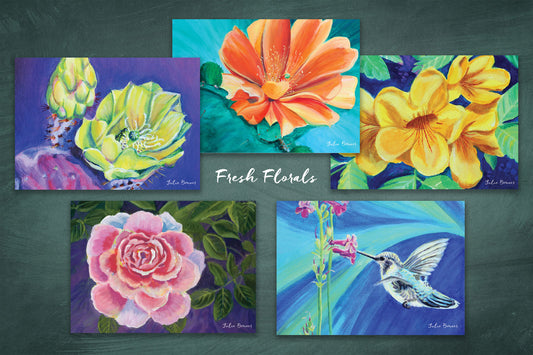
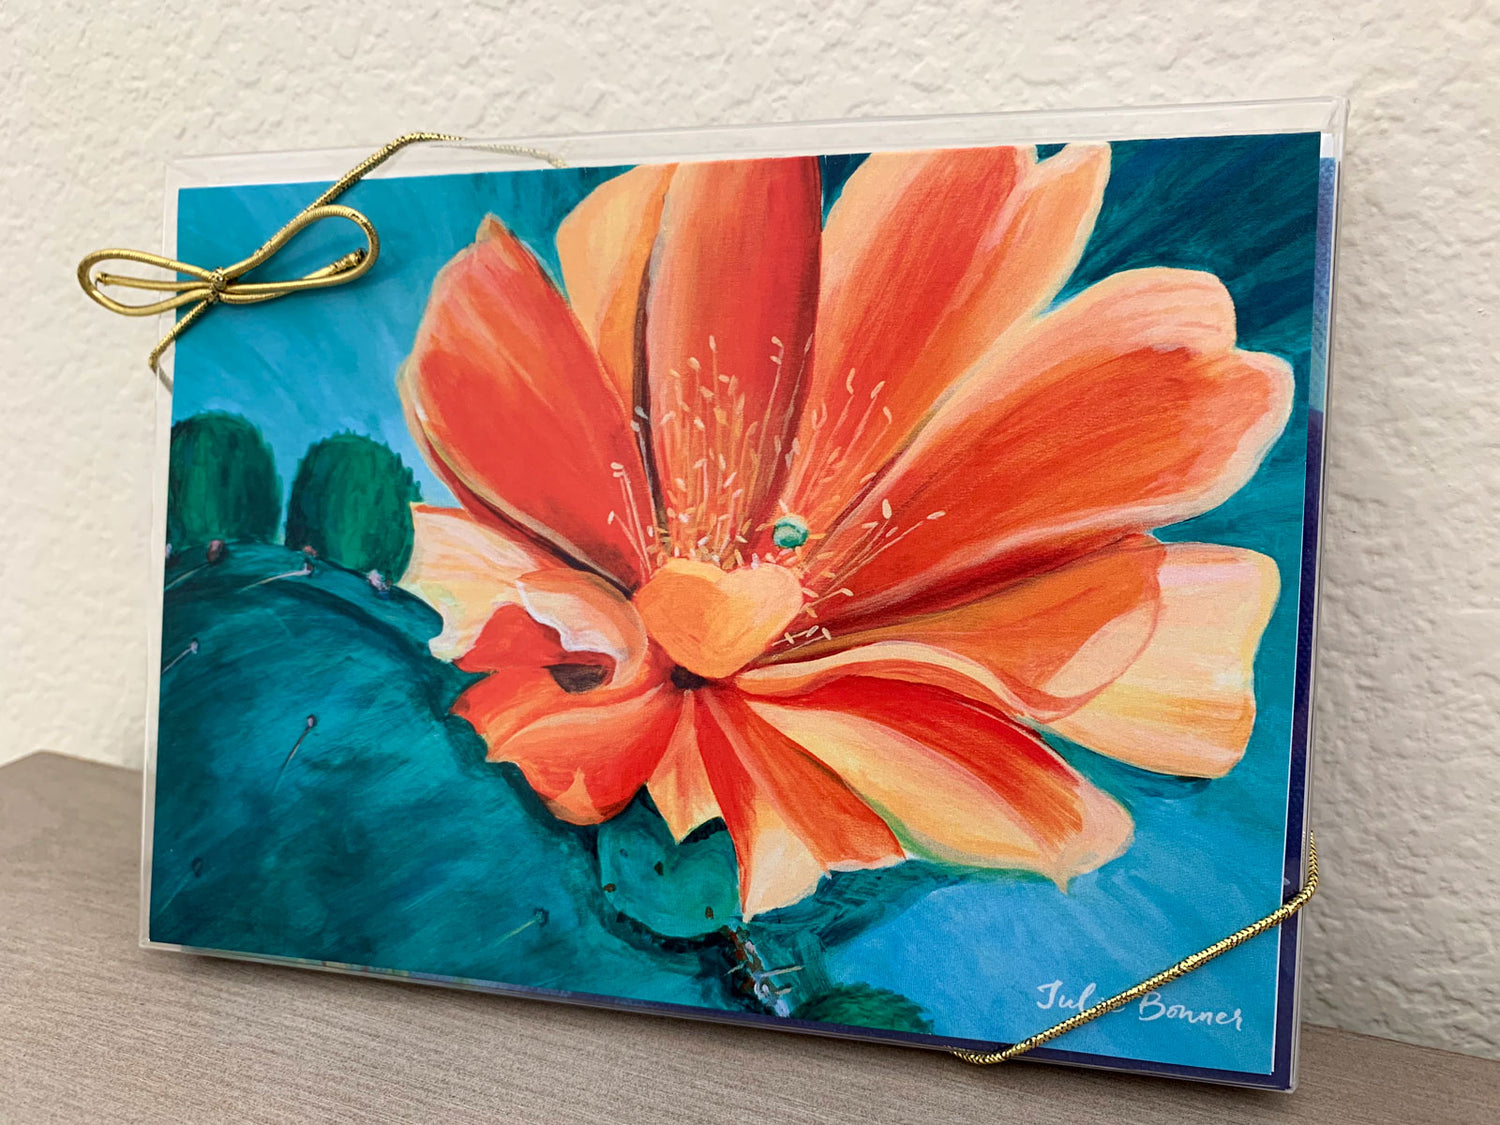
Fresh Flowers Assorted Greeting Card Set
Regular price $15.00 USDRegular priceUnit price per -
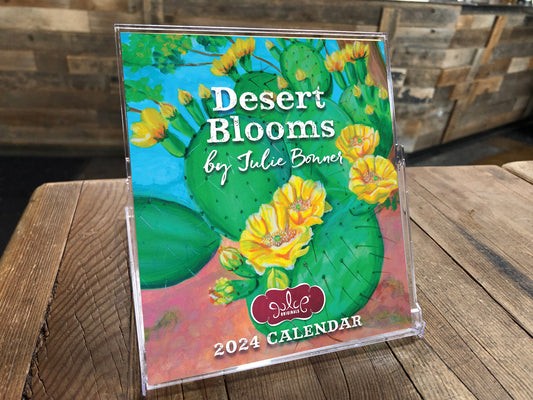
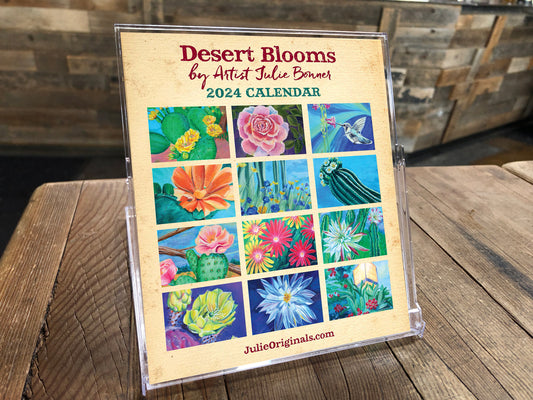
2024 Desert Blooms Desktop Calendar
Regular price $7.50 USDRegular priceUnit price per$15.00 USDSale price $7.50 USDSale -
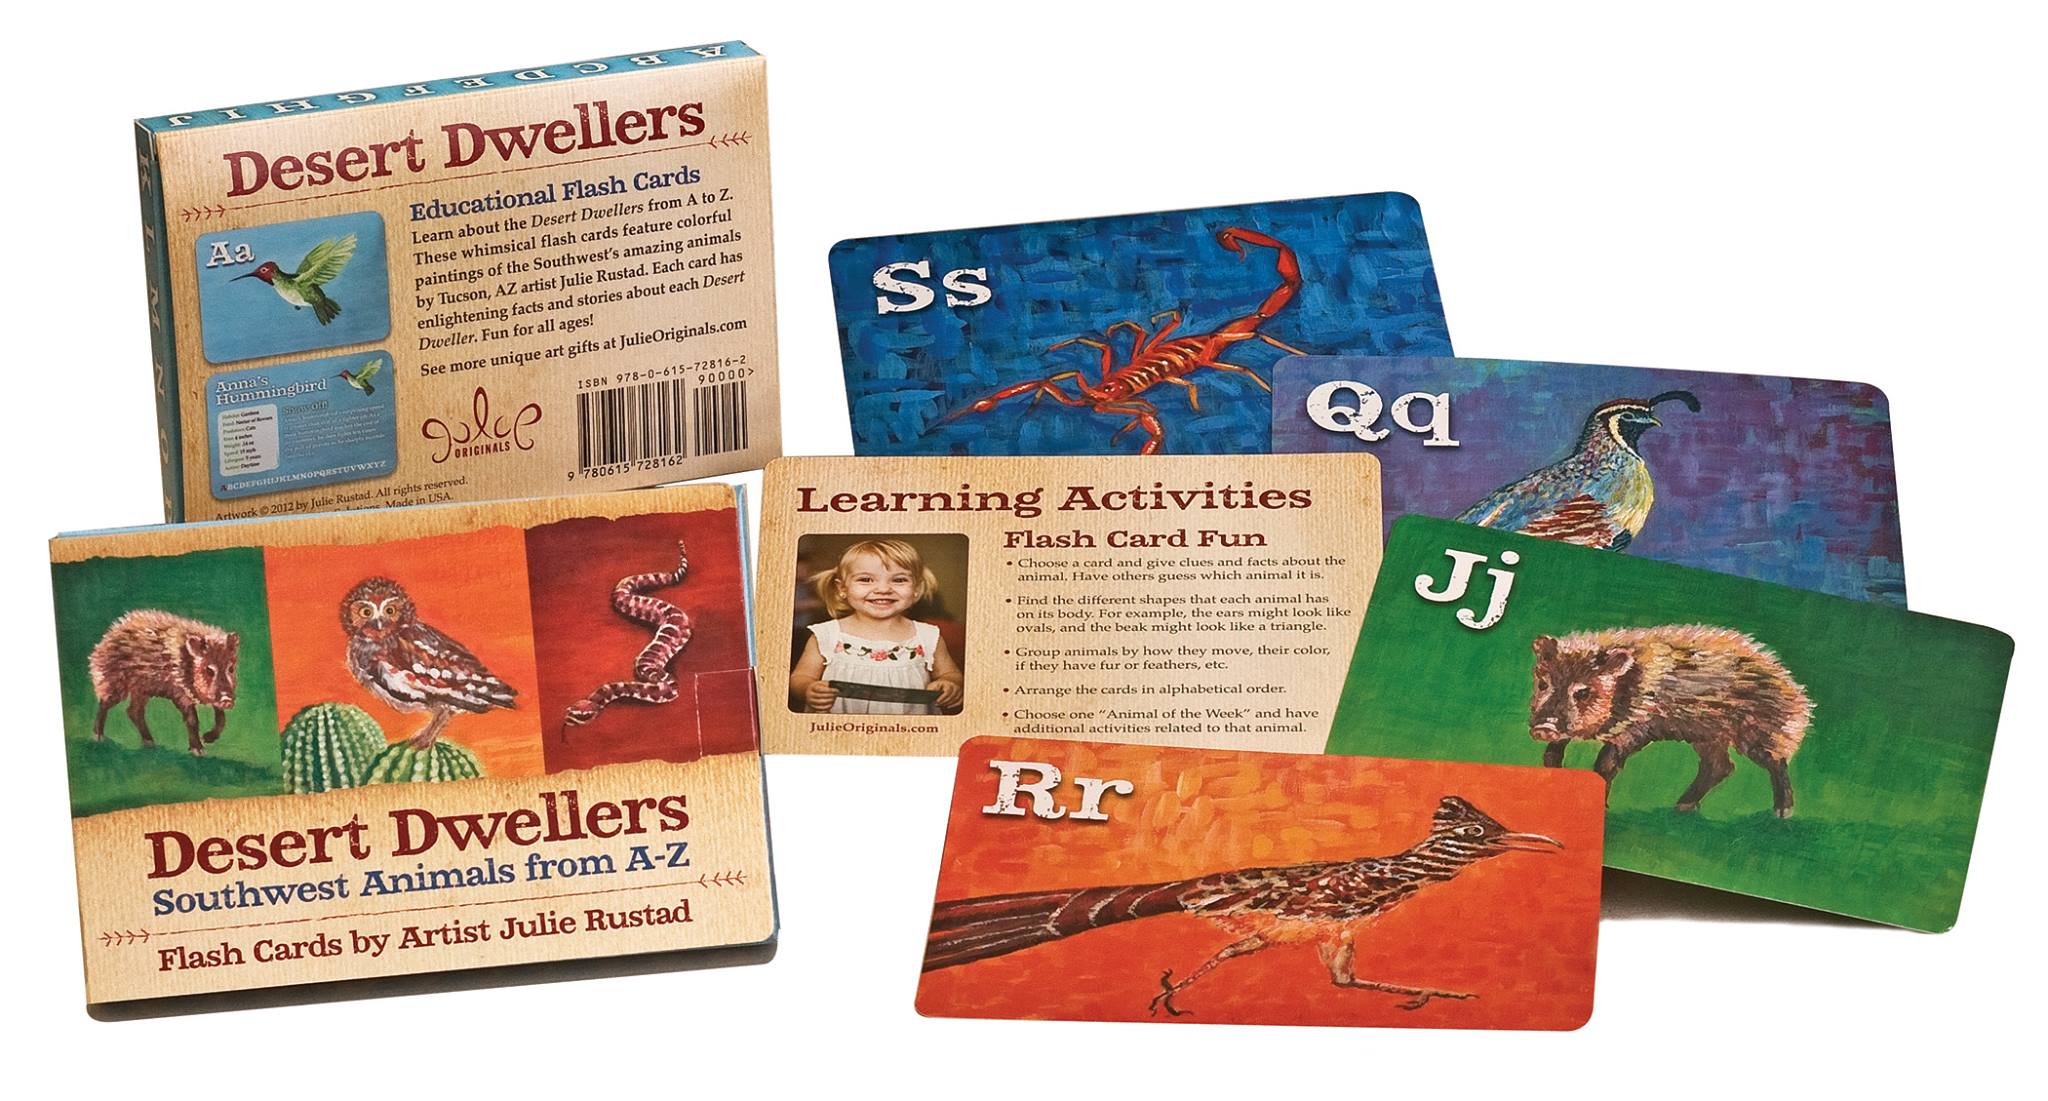
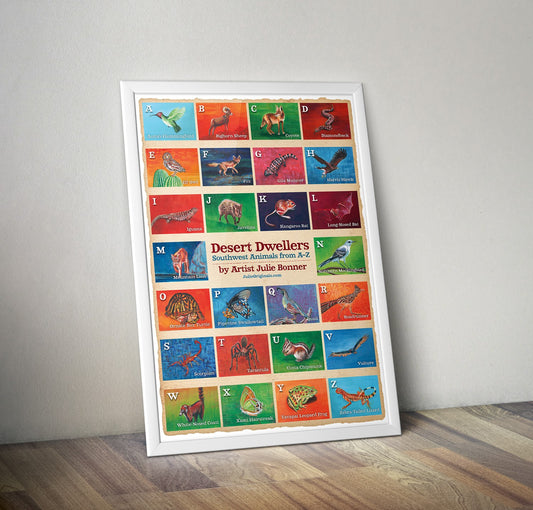
Desert Dwellers Posters - Southwest Animals A - Z
Regular price $24.95 USDRegular priceUnit price per
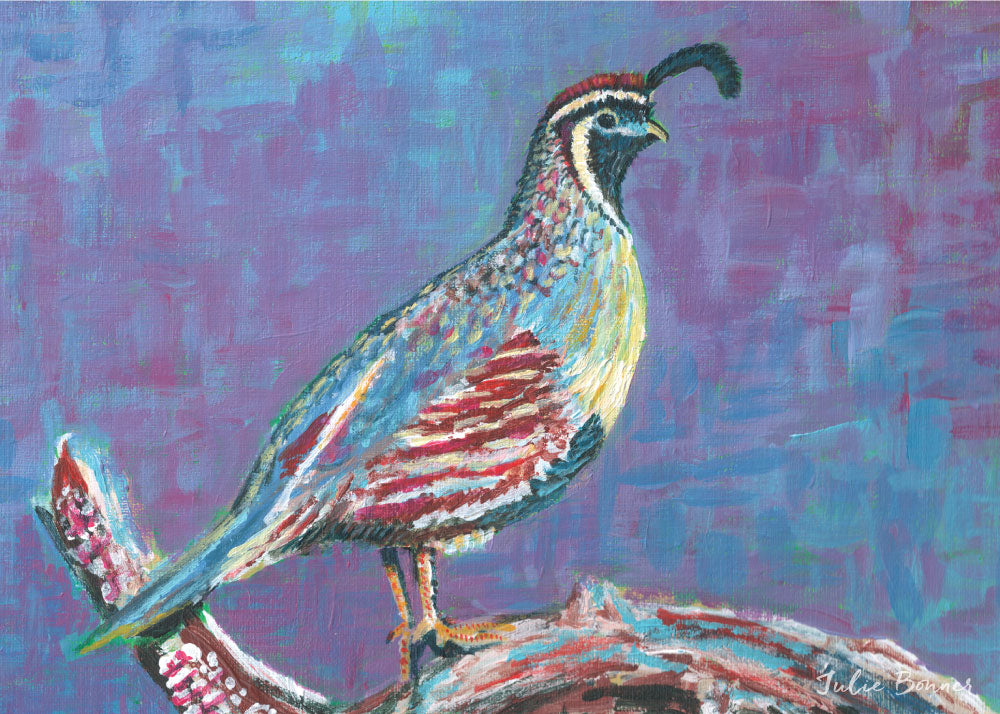
The Quail
Prints
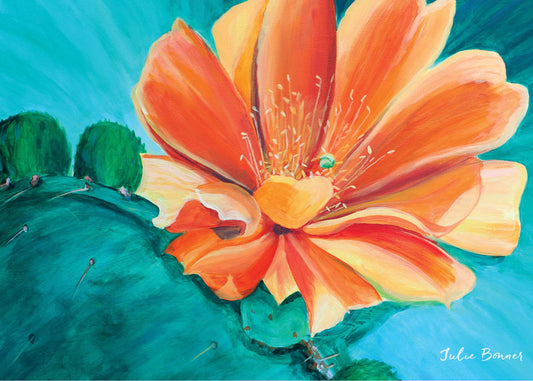
This Quail is one of many southwest animal paintings by Julie. The original was created to teach Julie's son about desert wildlife. The original art was painted using acrylic on canvas. All prints are matted to 11×14 ivory mat, signed and in a cello sleeve.
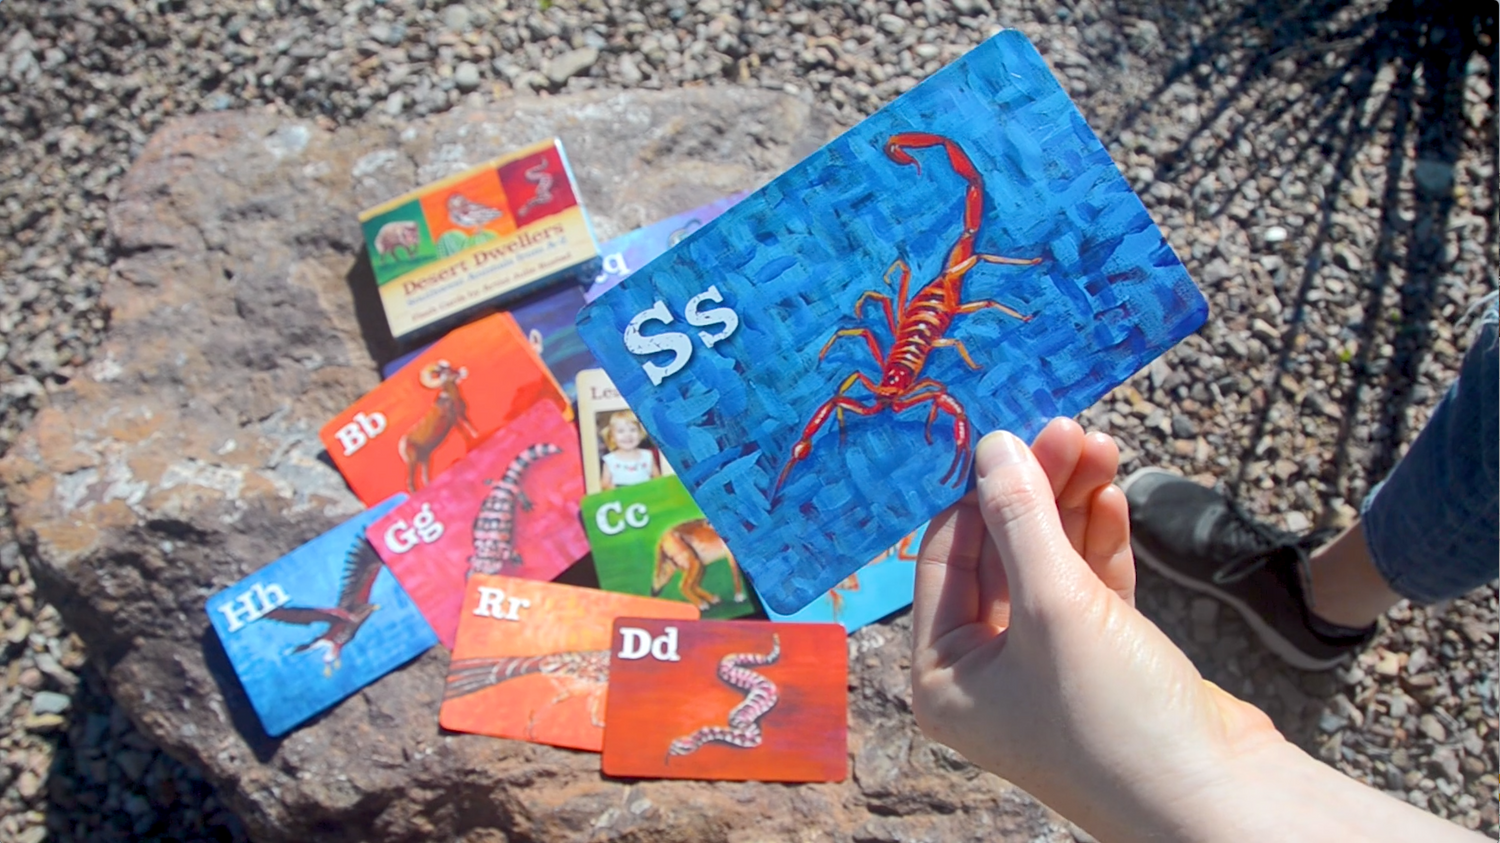
Educational Gift for Kids
Desert Dwellers Flash Cards
Original art from Julie, fun facts and stories about desert animals, and witty descriptions make these a unique and unforgettable treat for kids and their caregivers.
Assorted Set
Greeting Cards
The original images were painted using acrylics on canvas. Fine art greeting cards measure 7” x 5”. The inside is blank. There are 5 in this set. Each card is accompanied by a white envelope.